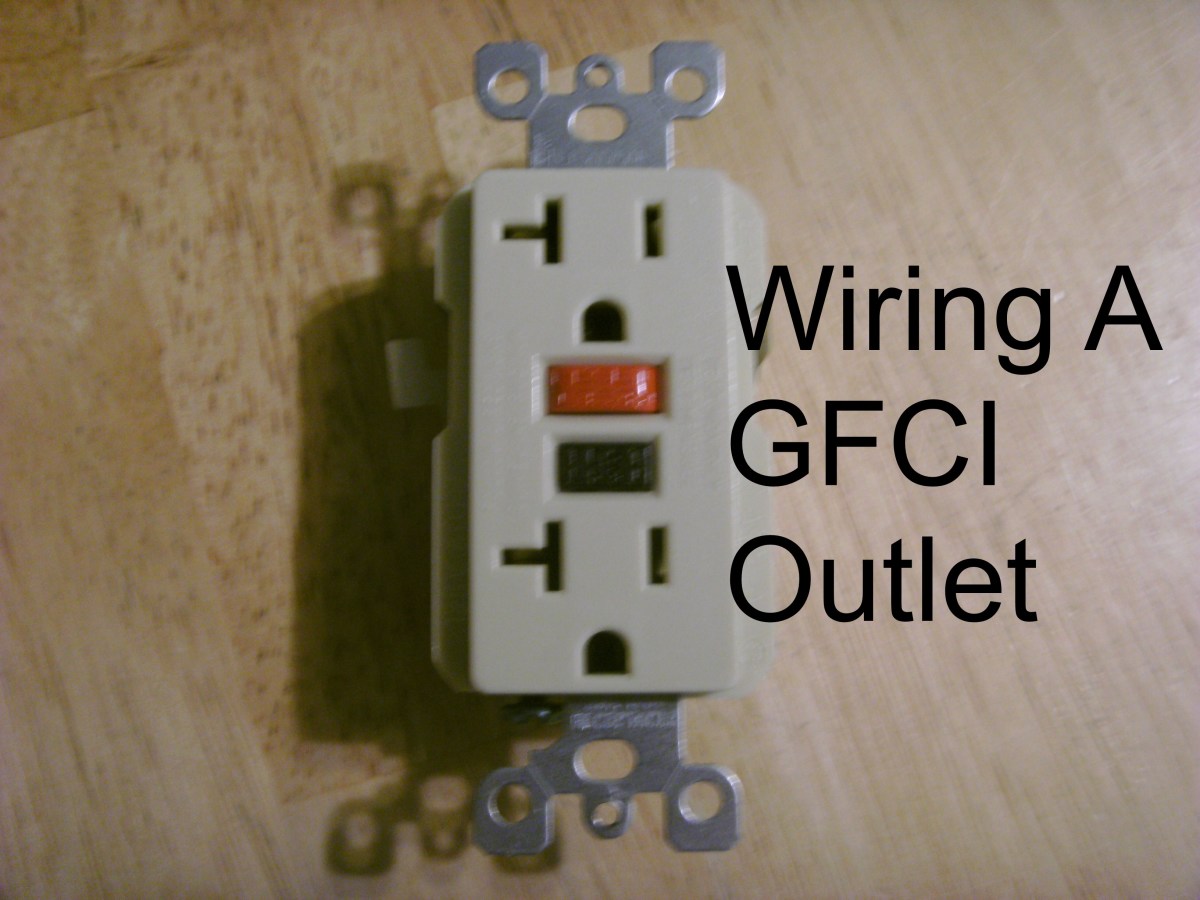
How to Install a GFCI Outlet (Ground Fault Circuit Interrupter)
There can be several reasons you may want to install a GFCI outlet – maybe it’s worn out, it could have been physically damaged or maybe you just want a new outlet installed in general.
Like any other outlet, GFCI outlets will wear out eventually. Kitchen outlets often have small appliances repeated plugged into them and then removed after use – has constant use worn out the springs that keep the plug tight?
Has something damaged the outlet? Grease from the range, striking one in the garage, or filling one outside with water too many times?
Or do you just want an additional outlet? Maybe one to power a new freezer in the garage?
Whatever the reason, there are a variety of things to consider before wiring in a new GFCI, and it will pay to take a look at them before starting the project.

Where Should GFCI Outlets Be Used?
The National Electric Code gives certain requirements for placement of GFCI outlets in that specific areas are required to have a GFCI outlet rather than a regular outlet. These include:
- Non livable areas such as a garage or attic.
- Outdoor areas; the outlet required near the door must be a GFCI.
- Anyplace within 6 feet of a water source or sink. Kitchen counter tops, bathrooms or near a hot tub for instance.
- Service outlets near equipment. An outlet, for instance, near a furnace and intended for use by servicemen must be GFCI protected. These will usually, but not always, fall under one of the other categories as well.
It is often not a good idea to install a GFCI when the intended purpose is to operate a motor driven appliance as motors will occasionally trip the ground fault protection. A freezer in a garage, for example, may trip the GFI but may not be found for days or until food has thawed and been destroyed. Another place might be under the kitchen sink; that is within 6 feet of the sink but a garbage disposal or dishwasher may cause nuisance tripping. Some electrical inspectors or locations may allow exceptions, usually by requiring that a “simplex” outlet, one with just one place to plug into, is used, but not all will. If you want an exception you should check with your city building department.
What Type of GFCI Outlets Should Be Purchased?
While there is a range of colors available for GFCI outlets it won’t make any difference which color you choose. Much more important is the ampacity of the outlet. These outlets are available in two different ampacities; 15 amp and 20 amp. In general, any outdoor, garage or kitchen circuit is probably a 20 amp circuit, while older homes probably have a 15 amp circuit in the bathroom. Newer homes are now required to have a 20 amp circuit there as well.
The key, then, is to match the ampacity of the outlet with that of the circuit. Locate the breaker or fuse feeding that circuit by turning them off until the circuit to be used goes dead and note the figure on the fuse or breaker handle. The new GFCI outlet must be matched to that number; a 15 amp circuit must have a 15 amp outlet while a 20 amp circuit must have a 20 amp outlet.
GFCI outlets come with a cover plate, so an additional purchase of the proper cover plate isn’t necessary.


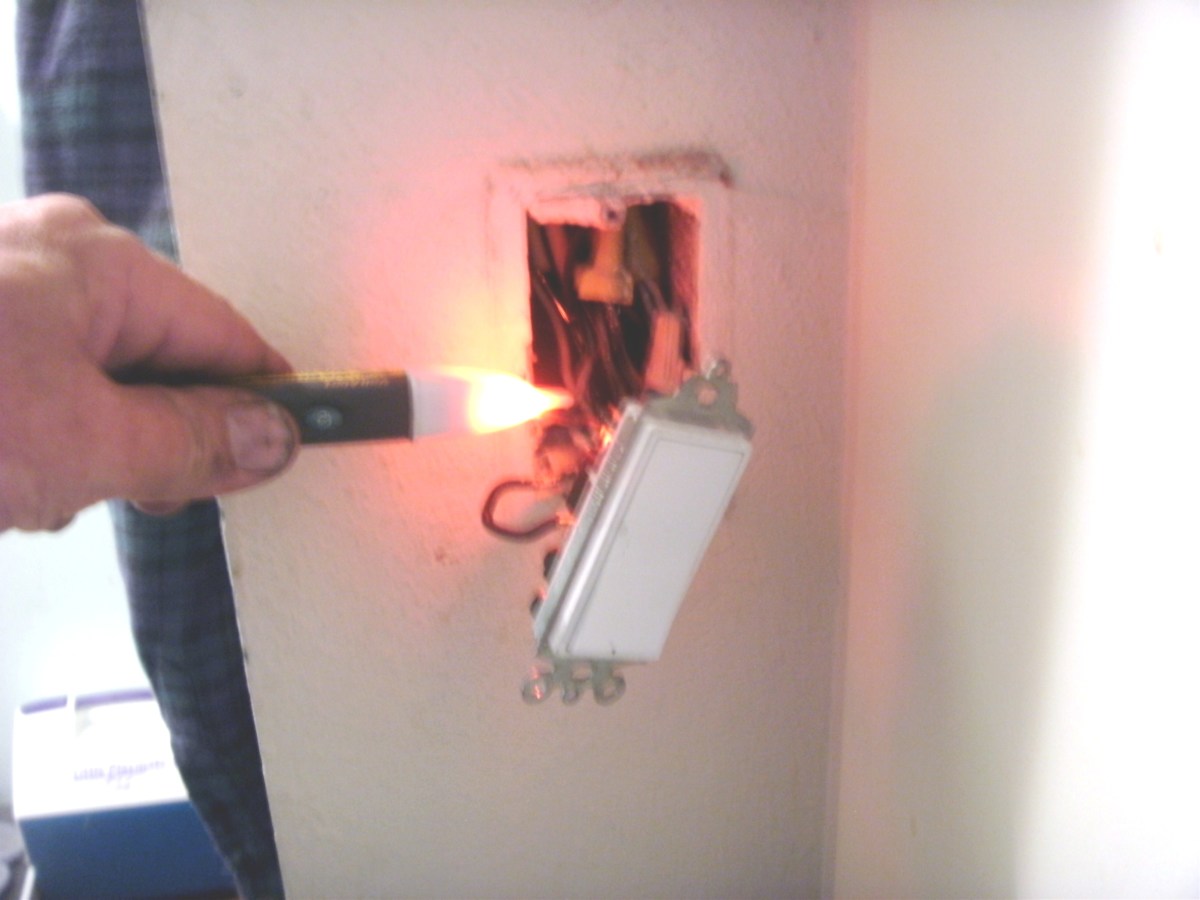
Non Contact Voltage Detectors
These great safety tools are easy to use, inexpensive and are a necessity for electrical projects. As a professional electrician there is one in my pocket any time I’m on the job.
Safety first is the motto here, even more than in most projects. Turning the power off is necessary, but so is double checking that what you think is the right breaker actually did turn it off.
Consider purchasing and using one of these nifty tools – they are worth their weight in gold.
Wiring a GFCI Outlet
Before beginning to wire your outlet, you will need to decide whether it is to protect any “downstream” outlets that may have been installed previously.
Any electrical circuit begins at the panel box, goes to the first device or outlet and from there to others. Those that are electrically further away from the panel are termed “downstream” and can be protected from ground faults by any GFCI outlet that is “upstream” from them.
The first step is to turn off the power and, if possible, test it with a voltmeter or a non-contact voltage detector.
If you don’t want to protect downstream outlets (maybe it’s a freezer outlet) then all the wires in the box will need to be spliced together with a “pigtail” to the outlet. Splice all the black wires together, including a 6 inch piece (of the same wire size!), all the white wires the same way and lastly all the bare, ground, wires. Use the 6″ piece to terminate on the outlet.
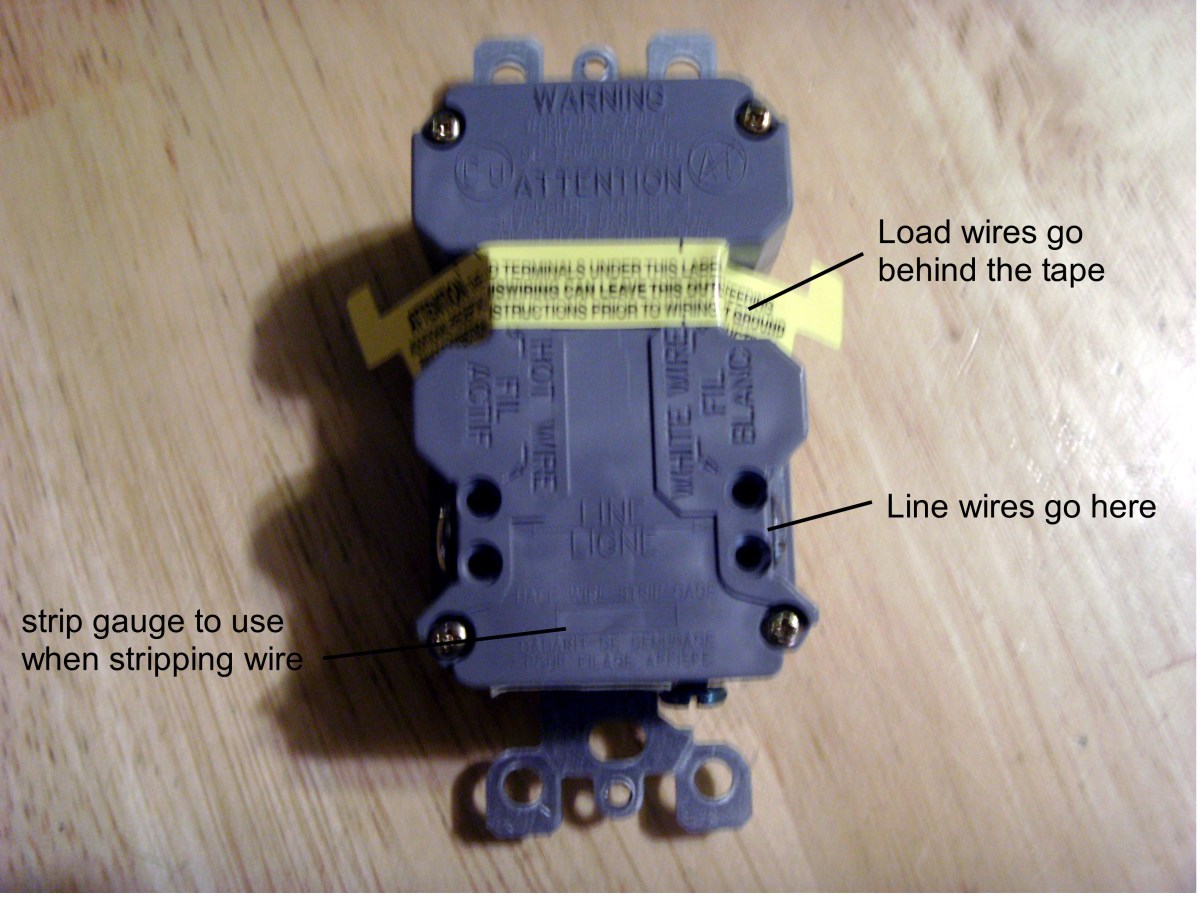
The outlet will actually have two sets of connection points, with the one for the “load”, or downstream, wires and one for the “line” wires – those that are coming from the panel or upstream outlets. The load connections generally have a piece of tape over them from the factory, but are also plainly marked on the back of the outlet.
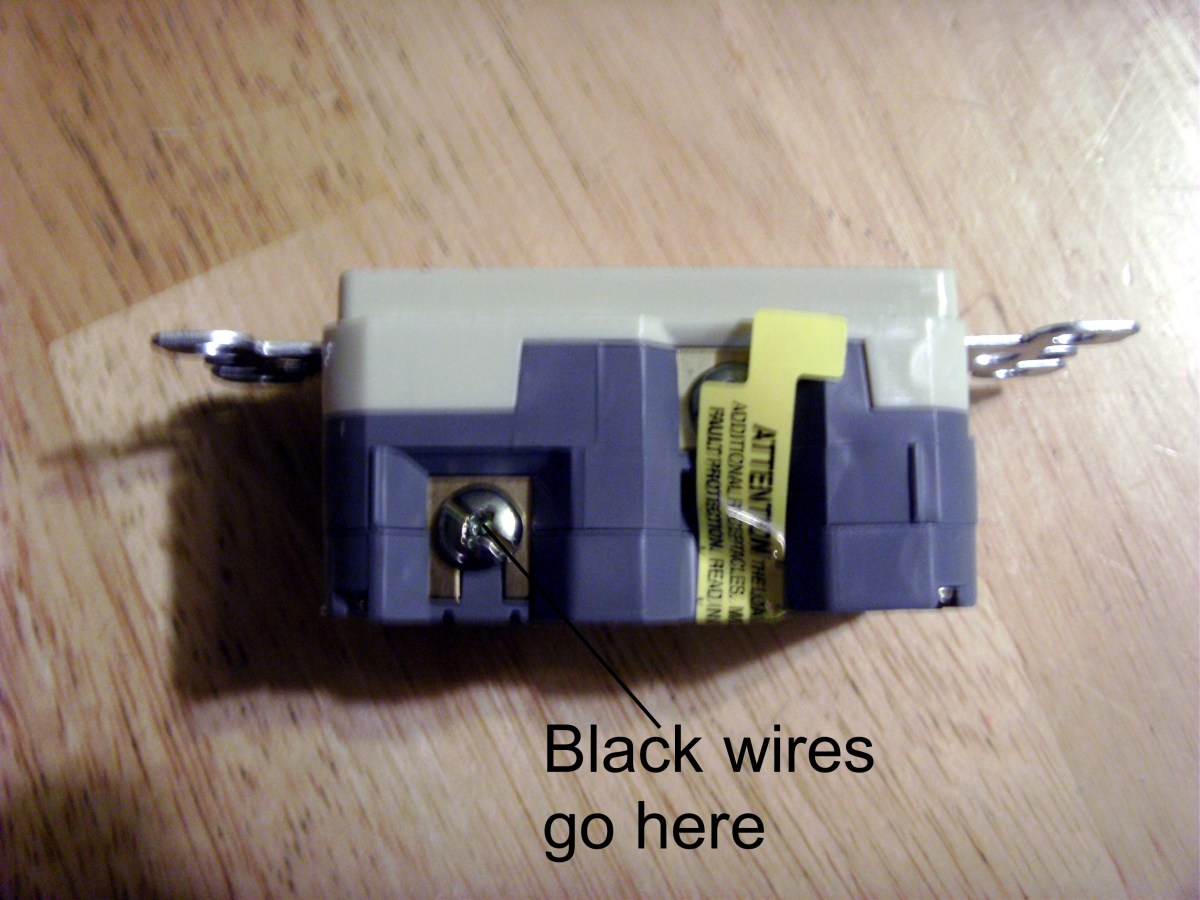
Insert the black wire into the hole near the brass colored screw and tighten the screw. The white wire goes into the hole near the silver colored screw and the ground wire goes to the green screw, usually at one end rather than the side of the outlet. The ground screw will often need to be bent into a loop to fit around the screw before tightening it.
Remove the tape if you will have load side wires to downstream outlets and repeat the process, this time with only black and white wires; there is only one spot to terminate the grounds.
Fold excess wire into the electrical box as neatly as possible, push the outlet in and attache it to the box with the screws provided. Attach the cover plate, turn the power on and reset the outlet with the push button on the front. Test the outlet with a either GFCI outlet tester (preferable) or at least the push buttons on the front of the outlet – you’re finished.


For More Details Visit the Original Article
How to Test a GFCI Outlet (Ground Fault Circuit Interrupter)
For personal safety, it’s really important to have GFCI outlets in your home. As a matter of fact, they are required by the Electrical Code in wet and damp locations such as bathrooms, kitchens, basements, laundry rooms and any location an outlet is near a water source.
GFCI (Ground Fault Circuit Interrupter) outlets can be identified by the TEST and REST buttons located in the center of the outlet. They are specially designed and engineered to detect ground faults and respond by interrupting power to help prevent injury from electric shock. A ground fault is a case where, instead of following its normal safe path, electricity overloads a circuit, shorts a circuit or otherwise follows an undesirable path. For example, when moisture comes in contact with a device it can cause a ground fault and the ground fault creates a harmful electric shock. Without GFCI protection that ground fault can very well injure the person in its path.
To make sure your GFCI outlet s are in tip top operating condition it is recommended that you test them monthly. Testing is as easy as 1, 2, 3…
Steps to test a GFCI outlet:
Plug a lamp or radio into the GFCI outlet and turn it ON.

Push the TEST button on the GFCI.

The GFCI will trip and power to the lamp or radio will be cut OFF.
Your SmartlockPro GFCI is working properly only if you can push the RESET button on the GFCI to restore power to the lamp or radio.

All GFCI outlet s have a reset lockout feature that will not allow power to be restored if the GFCI is damaged or cannot respond to a ground fault. GFCI receptacles that fail this test should be replaced immediately by a licensed electrician.
So, take a moment to inventory your home outlets and make sure that any outlet near a water source is a GFCI outlet. If it’s not, no worries. GFCI outlets easily replace traditional outlets, fit in a standard wallbox and use standard wallplates. What could be smarter, simpler or safer than that? More Details View the Original Article


